Hi!
During Hussar event I bought my first full resin model. It was an “Ork buggy” made by PUPETSWAR.
When I fierst look on this model on table – only thoughts in my head where “It’s great wasteland stuff. I want it paint and rust it in the same way as People during MadMaxCar competition on Massive Voodoo”.
For those not familiar with the brand, it’s a small company from Warsaw, Poland that makes crazy resin stuff, generally in 28mm heroic scale. Their models made by Polish sculptors in unique fairy and grotesque style.
You can find the PUPETSWAR website here.
So for this review I’ll show you this buggy:
Orc Buggy
Here’s the images from their website: |
What you get
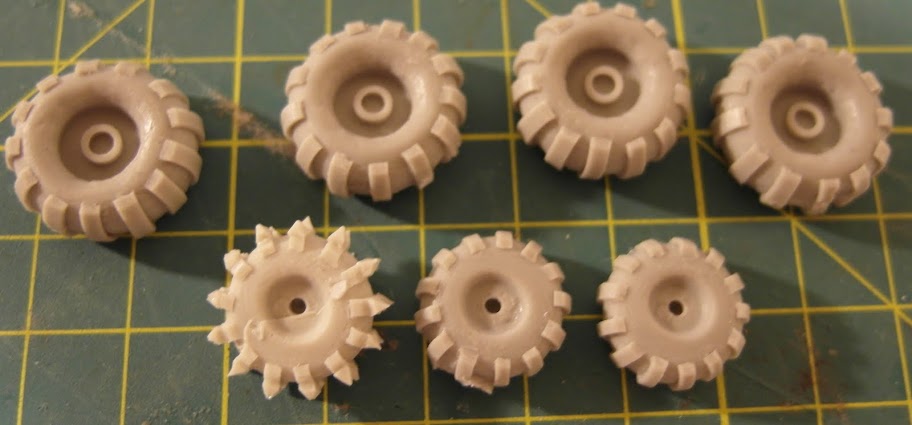
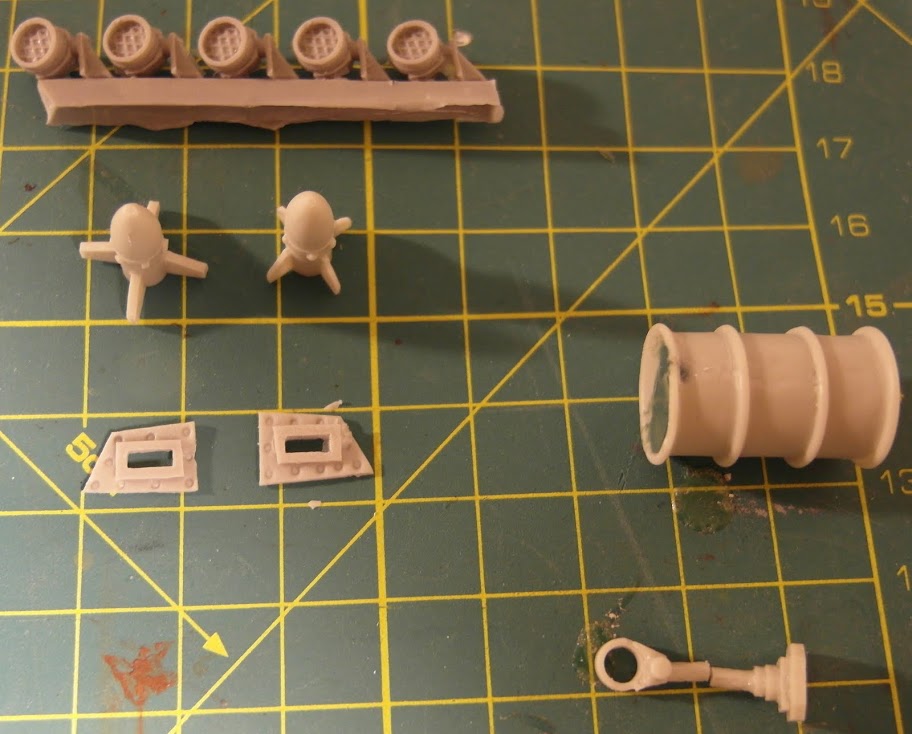
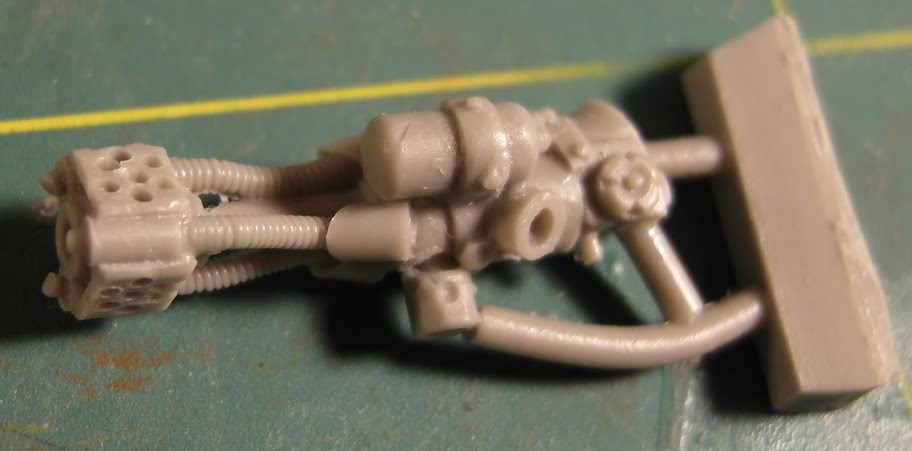
As website said:The set contains 6 wheels, 5 lights, 1 flamethrower, 3 armored plates for windows, barrel for flamethrower ammunition, 2 mufflers, double barreled machinegun, rocket launcher and 2 part mounting kit.What you get comes in the smallblister: Unfortunately I was so excited that glue tougether body that was in two parts and armored plate for front window lost during packing and unpacking… so u see glued together body and one armor plate missing.
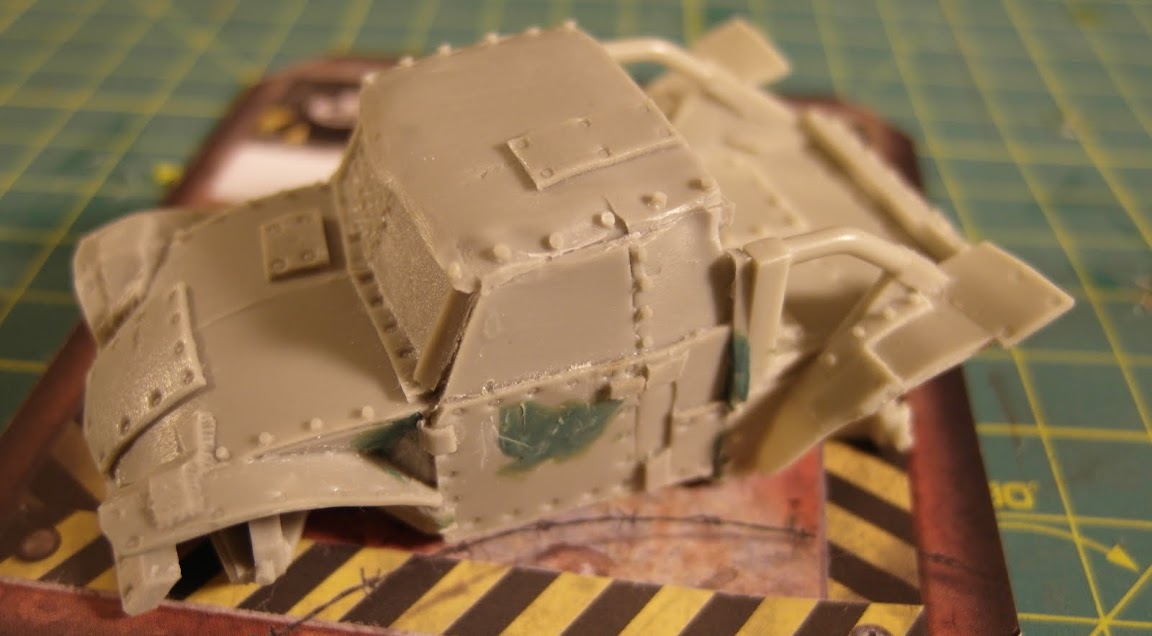
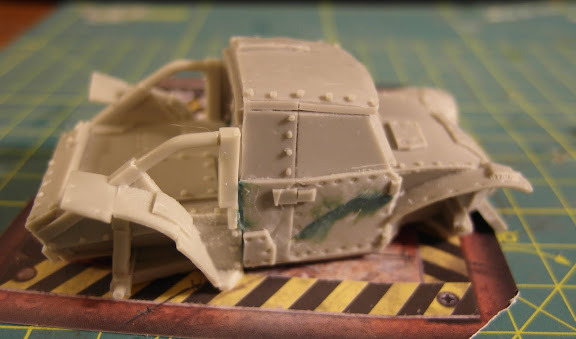
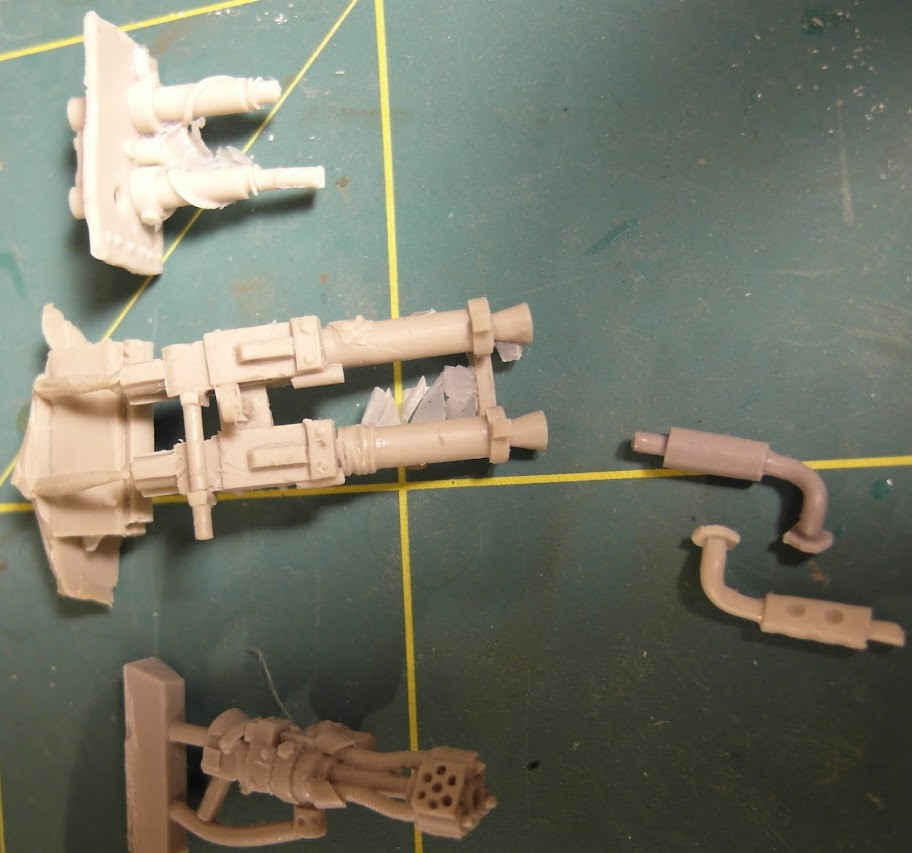
Resin and sculpting quality
You get a very detailed resin mini. The cast details are very sharp. Not much to add.You have to clean some mold lines and fill few small holes. Generally car is very simple to build. Just glue luggage compartment and engine-driver parts. These two parts fits well, but any way you have to use green stuff to fulfill few hollow spaces. Also I use some liquid green stuff to flat surface. In my opinion this new “thing” from GW is great but needs to be diluted with water and next flat by sand paper.
Gamer says:
In my opinion this model can be grot buggy – not ork. This car has dimensions ca. 80x40mm that gives us in real life 28 by 80x40 = 2.240x1.120 m. It is more or less smart dimensions. In my opinion this modes is a bit too small for a ork buggy.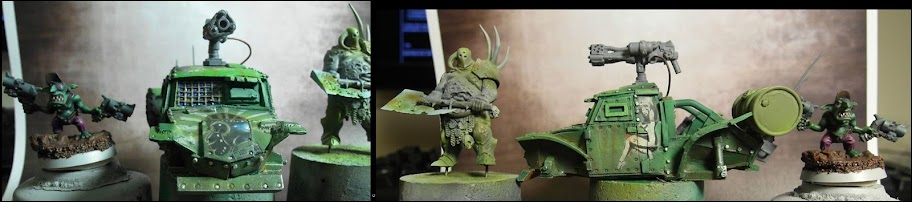
Where I can use this model:
- GW games: Warhammer 40k universe (fits any army that can have wasteland cars orks army, humans and renegades).
- Infinity game but I’m not so familiar with it co my guess is nice model for diorama.
- Some post nuclear or wasteland games systems…
Painter says:
From a painter point of view, in my opinion you get a very nice and inspiring
model that is big challenge. I hope in future I’ll paint this model in a few
stiles and for the few different universes. As you can see on scale comparison image
I’m almost finish paint this buggy. First of all I see this model on fallout universe
wasteland so next article will be about how I paint this car following Przemo
tutorial about aerography as it will be my 1st fully painted model
by aero and some freehands using stencil technics and classical final brush
works.


